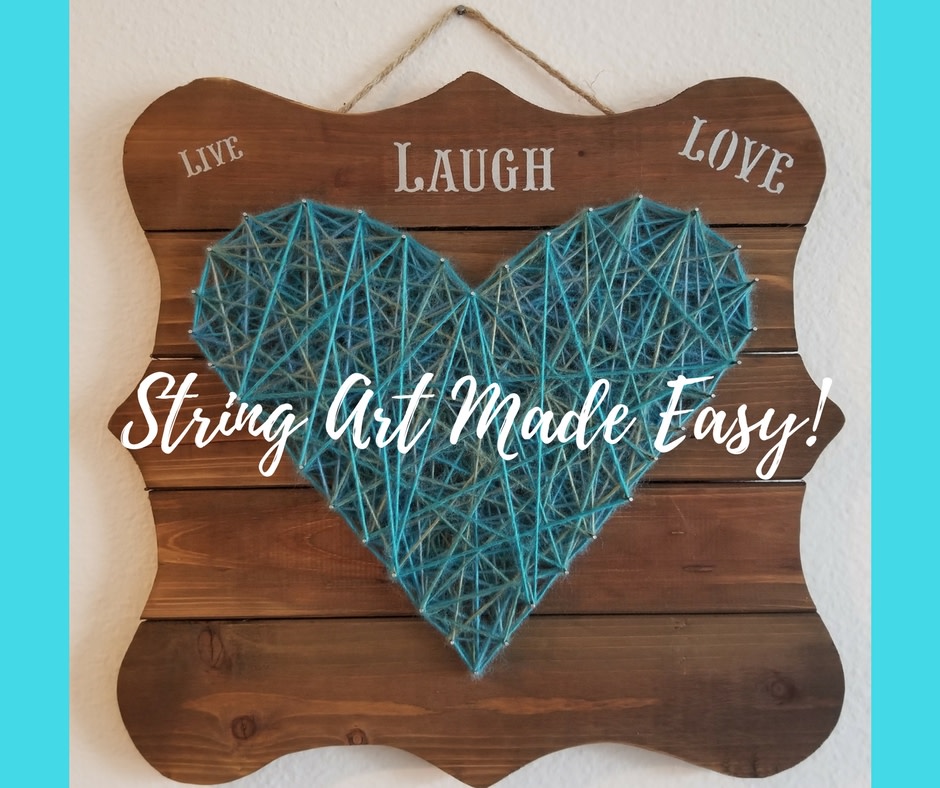

String Art is becoming the latest craze in art. It has been around for many years, but just starting to pick up in creative ways. It can be as easy or as difficult as you want it to be. It is all up to you!
First you need a few items such as 1 inch nails with a flat head, a hammer, a pair of scissors, string or thin yarn and some sort of woodblock for your background. If you want to decorate it as I did, then you will also need some paint, a paint brush or sponge, and some stencils of your choice.

Image by Yousra Hassanein
Once you have chosen your background medium, you can start deciding what shape you want to design. I got my background wood from an arts and crafts store already shaped and with string attached ready to hang! There are many styles to choose from or create your own!
As for my shape design, I went with a heart. You can freehand your design, draw it on your background medium with a pencil, or cut out the shape from paper. I cut out a heart from paper to use for my shape, and now I am ready for the next step!

Image by Yousra Hassanein
Place your shape, or draw your shape, on your background medium. Now you can begin to hammer in your nails around your shape, or on your drawing line, about an inch apart. Now you are ready for the fun part!

Image by Yousra Hassanein
With your string or thin yarn, tie a double knot around one of the nails for your starting point and then trim the excess string from the end. Keep the string taut and begin to wrap around different nails, careful to not go over the same areas. You can choose to make a pattern with your string, but I like the random look myself. As you are stringing from nail to nail, be sure to go around your design two to four times as to create an outline and make your design shape look finished and smooth rather than jagged points.
Once you have your design filled in to your liking, you will need to tie another double knot on one of the nails and trim the excess string from the end. You are now ready to embellish your you work of art if you wish!

Image by Yousra Hassanein
I chose to get some word stencil stickers which can be removed easily, and used over and over again. I also decided to go with a metallic silver paint as to bring out the nail heads, and add some contrast to the wood background. If you got stencils as I did, place them in areas you would like, then dab your paint across the stencils with your paint brush or sponge filling in the stencils with color. When the first coat dries apply a second or third depending on how dark you would like your embellishments.

Image by Yousra Hassanein
And that's it! You have just made a gorgeous work of art anyone would love to have hanging on their wall or sitting on a shelf! Once you get the hang of doing simple shapes, the possibilities are endless! I have seen someone make the Eiffel Tower! It was gorgeous! Good luck with your next string art project and, as we say at Camden, have fun!
If you enjoy crafts and want more ideas, check out DIY: Beautiful & Easy Bandana Flag Wreath and The Best DIY for your Apartment: Unique Holiday Candles which you can customize both ides for any holiday decor!
Let's be longtime friends—subscribe today!


